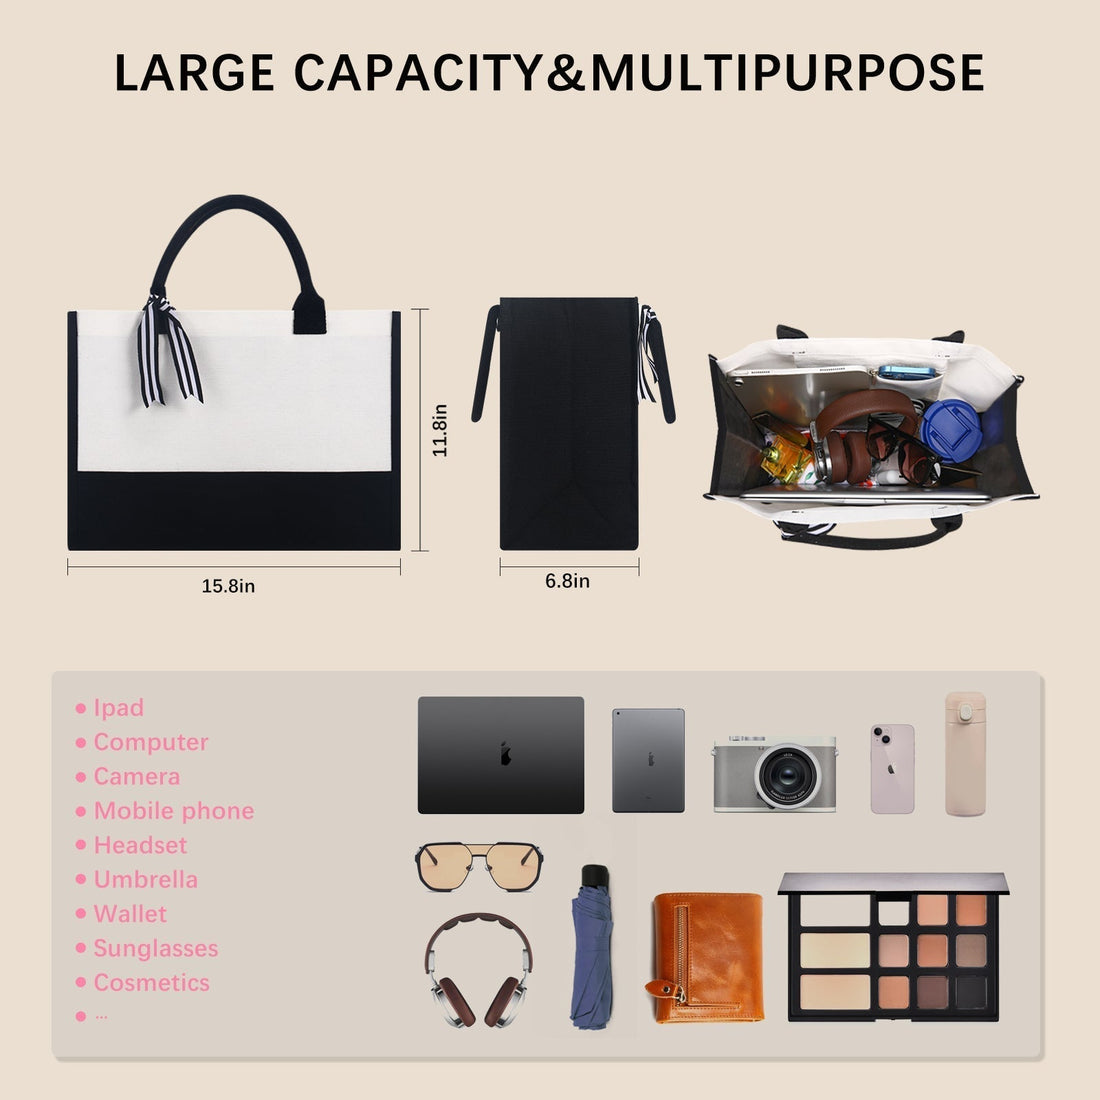
Beginner’s Guide: Complete Workflow for Sublimation Blank Products
Sublimation is a popular technique that transforms ordinary blank products into personalized, creative items. From T-shirts and mugs to phone cases, sublimation blank products are loved by creators and small business owners for their durability, high-quality finish, and customization potential. This guide provides a step-by-step workflow for beginners to master the sublimation process from start to finish.

What Are Sublimation Blank Products?
Sublimation blank products are items specifically designed for heat transfer printing, usually coated with polyester or made with high polyester content. Common types include:
Apparel: White or light-colored T-shirts, hoodies
Mugs & Drinkware: Ceramic mugs, glass cups
Home & Accessories: Mouse pads, throw pillows, phone cases
These products allow designs to be permanently transferred using a sublimation printer and heat press, producing vibrant, wash-resistant colors.
Complete Workflow for Sublimation Blank Products
1. Prepare Materials & Equipment
Essential materials:
Sublimation blank products (T-shirts, mugs, pillows, etc.)
Sublimation printer with special sublimation ink
Sublimation transfer paper
Heat press or mug press
Heat-resistant gloves, scissors, heat-resistant tape
2. Design & Printing
Create your design using Photoshop, Illustrator, or Canva.
Adjust size and placement to match the blank product.
Print the design in mirror mode on transfer paper, especially for text.
3. Prepare the Blank Product
Ensure the surface is clean and free of dust or oils.
Flatten T-shirts with an iron to remove wrinkles.
For mugs, apply protective paper to prevent design movement.
4. Heat Transfer
Preheat your heat press to the recommended temperature (usually 180–200°C, depending on material).
Place the printed transfer paper on the blank product and secure with heat-resistant tape.
Apply even pressure for the recommended time (T-shirts: ~45–60 sec, mugs: ~180–200 sec).
Ensure uniform pressure for clear, vibrant results.
5. Cooling & Removal
Wear gloves to carefully remove the product from the heat press.
Allow it to cool to room temperature before peeling off the transfer paper.
Check that the design is complete and colors are even.
6. Finishing & Care
Finished products can be used or packaged for sale.
For apparel, wash inside-out in cold water with mild detergent; avoid bleach.
For mugs or ceramics, avoid prolonged soaking or harsh chemicals.
Beginner Tips
Test on a small sample first to avoid wasting materials.
Mirror your design for text-based graphics.
Apply even heat and pressure to prevent fading or incomplete prints.
Use high-quality inks and blanks to ensure longevity and vibrant colors.
